

Last Friday I bought four punnets of blueberries because I have blueberry monsters at home. Although I knew they would have no problems at all finishing them, I googled for a blueberry muffins recipe because I’d always wanted to make blueberry muffins and since we didn’t buy any breakfast for Saturday morning, it was the perfect time to bake some.
And so Saturday morning, I got up early and made the blueberry muffins. I followed the recipe I found largely and got really quite worried about my batter which didn’t seem to be thick as what others have said in the comments but well, I had to just go ahead with whatever I already made.
Boy was I glad the blueberry muffins turned out awesome! It was so moist and fluffy, not overly sweet and we just loved how the whole blueberries burst in our mouths and the look of the purplish-blue streaks on the muffins!

So here’s the recipe I used which produced the moist, fluffy blueberry muffins! We love this a lot better than the Banana chocolate chip muffins I made earlier. This wasn’t as strong in taste and we could eat MANY at one go. Needless to say, the blueberry monsters at home are big fans of this muffin recipe 🙂
Original recipe from Inspired Taste
- 190g self-raising flour
- 150g sugar (for the batter)
- ½-1 teaspoons baking soda
- 1-2 tablespoons sugar (for muffin tops)
- ¼ teaspoon salt
- 80ml oil (I used olive oil)
- 1 egg
- ⅓-1/2 cup milk
- 1 teaspoon vanilla extract
- 170g fresh blueberries
- Combine flour, sugar, baking soda and the salt in a large bowl with a whisk.
- Measure the amount of oil in a measuring cup that holds at least 250ml. Add the egg then fill the jug to the 250ml mark with milk (this should be ⅓ to a ½ cup of milk). Add vanilla extract and whisk until combined.
- Add the wet ingredients to the dry ingredients and combine with a spatula. Do not over mix or your muffins will be heavy and flat.
- Lastly, fold in the blueberries into the muffin batter.
- Using an ice-cream scoop, or any scoop you prefer, fill each muffin cup about ⅔-3/4 full.
- Preheat the oven to 200C.
- Meanwhile, sprinkle sugar on the muffin tops.
- Bake the muffins for 25minutes.
Here’s how the batter looks like:

And the batter in souffle cups as I don’t have a muffin pan:
 The freshly baked muffins!:

Have fun baking!
Have a go at these recipes!:
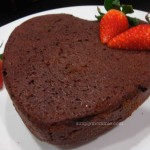 Quick & easy brownie Quick & easy brownie |
 Banana chocolate chip muffin Banana chocolate chip muffin |
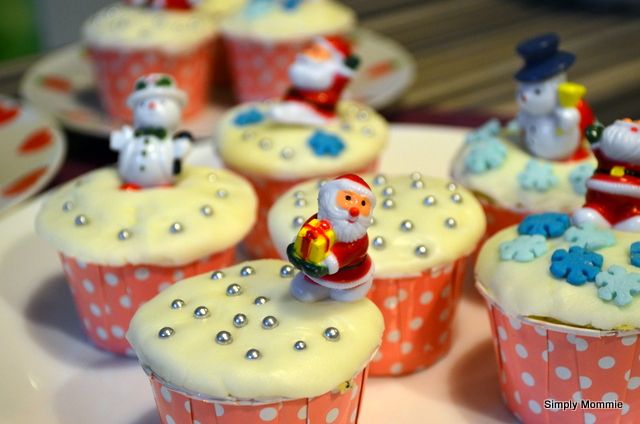 Lemon Poppy Seed cupcakes (with Christmas decorations) Lemon Poppy Seed cupcakes (with Christmas decorations) |
~~~~~~~~~~~~
If you like this post, please hop over to my Facebook page where I connect with my readers and I would love to have you following my newly set up social media accounts – Pinterest, Twitter and Instagram. 🙂


 Facebook
 Twitter
 Pinterest
 Instagram