


Instead of sharing a recipe today (as per every Friday), I’ve decided to share some kitchen tips with you today! This post was inspired by a fellow mom blogger Adeline who asked us for kitchen tips and while I was thinking about my tip to share over at her blog, I realised that I have 10 more kitchen tips to share with you too!
#1 Clean your sink thoroughly after preparing raw food

For hygiene purposes (and also because the sink usually has a stench after cleaning raw food in it), either use some dish soap or half of a cut lemon and rub all over the sink then pour HOT water all over. You will get an instantly sanitised sink and it’ll rid the odour. Do that for the piece of green wool or sponge you use to clean the sink and dishes regularly too!
#2 Freeze stock/ pasta sauce/ lemon juice in amounts you would use
Don’t you hate it when a recipe calls for 2 tablespoons of pasta sauce or 1 teaspoon lemon juice? Don’t junk the whole jar of sauce or the lemon after – freeze the sauce and lemon juice in ice-cube trays so that you can pop out frozen cubes to defrost when a recipe calls for it. For a standard ice-cube tray, each cube is about 25-30ml.
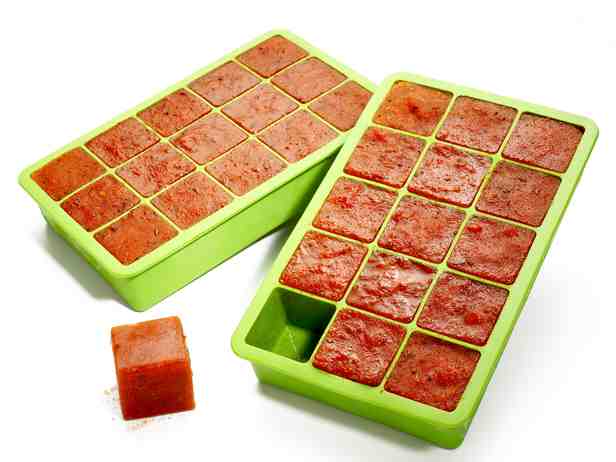
And you already know that I like to freeze my stocks right? 🙂 Usually for 1 portion of an adult’s one-dish meal like noodle soup (great for afternoons when I cook my own lunch), I’d store about 500-600ml and about 200ml for the kids’ portion.
#3 Freeze soups, stews, minced meat flat
They will freeze and defrost faster. This is really useful when I have forgotten to defrost minced meat for the day – takes at most 10minutes to defrost 2-3 tablespoons of meat by putting the pack in a bowl of tap water.

#4 Cut meats/ fish when it’s still slightly frozen
It’s easiest to cut meats/ fish when it’s still slightly frozen and you can really slice it thinly without much effort compared to when it’s fully thawed.
#5 Use egg shells to remove egg shells
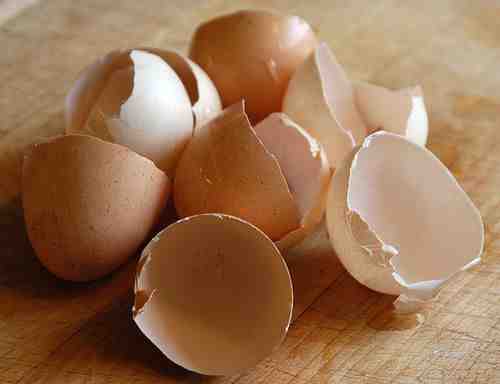 When I ask my daughter to crack eggs for me, there’s a very high chance that egg shells make their way in too so the best way to remove the egg shells is with egg shells – they attract each other like magnets.
#6 Waste not.
When you buy a rotisserie chicken, save the bones and make a yummy rotisserie chicken stock to whip up quick and easy meals like this:

Save some of the meat too if consuming it the next day.
#7 Marinate meats in ziploc bags and lay it flat
 Got this tip from watching a Japanese variety programme some time back – they placed the meat into a ziploc bag together with the marinade, zipped up the bag and shook it. The meats are evenly marinated and you don’t even need to get your hands dirty! Lay it flat in the fridge when you leave it to marinate overnight so that all the pieces of meat are marinated evenly.
#8 Store vegetables with a damp paper towel

Extend the shelf life of vegetables by placing them up with damp paper towels in ziploc bags with seals slightly open.
#9 Skim fat from soups easily
No one likes oily soup and I’ve found that apart from using oil filter paper, the easiest way has gotta be this – chilling the soup. The fat will rise to the top and form a layer if it’s really oily. Just skim away the whole layer or the oil spots with a slotted spoon.

#10 Wipe down kitchen counter tops with white vinegar
 White vinegar is a great natural ant-repellent. Mix 1 part vinegar and 1 part water in a spray bottle, spray the surfaces when you spot ants and wipe with a cloth. Repeat process once you spot ants again.
I hope you’ve found these tips useful! And do leave a comment if you have more to contribute! 🙂
~~~~~~~~~~~~
If you enjoyed this post, please share your thoughts in the comments or share the post with your friends by clicking on the social media buttons below. Do hop over to my Facebook page where I connect with my readers and I would love to have you following me on Pinterest, Twitter and Instagram too 🙂


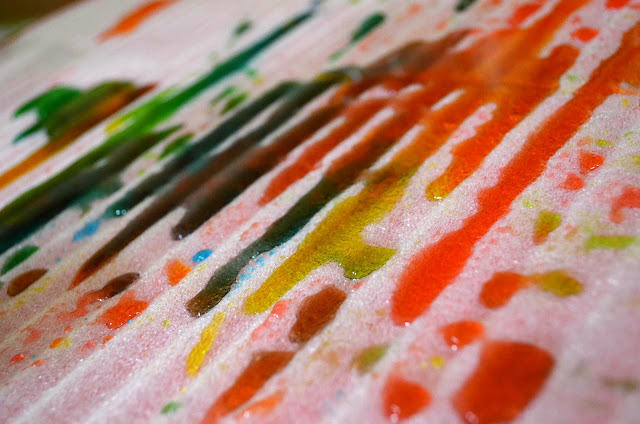
 And I was really surprised that the colours on tissue paper turned out to be super vibrant!

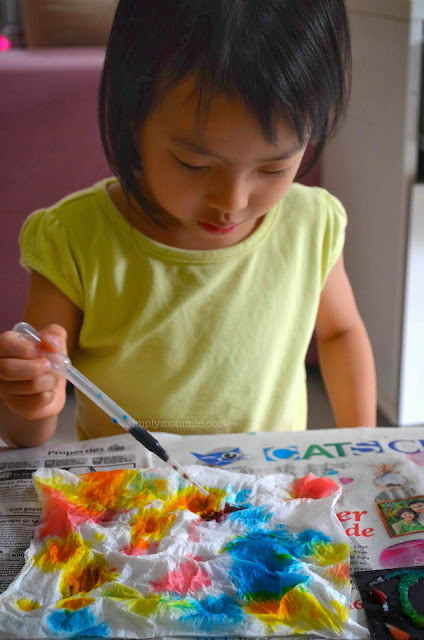
 And while he was figuring things out, my little girl was busy concentrating making piece after piece of coloured kitchen towels.
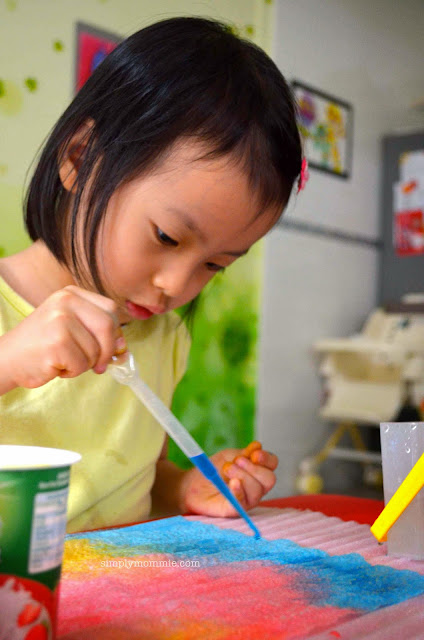 After that, I thought why not just let them explore with that piece of soft foam packing sheet which I actually was just intending to use it as a surface for them to colour the kitchen towels. And it turned out to be really quite a hit! They placed different colours on the packing sheet and the uneven surface made things more interesting too!
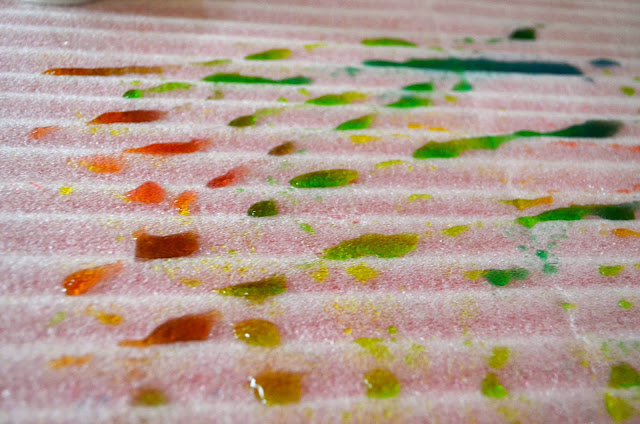

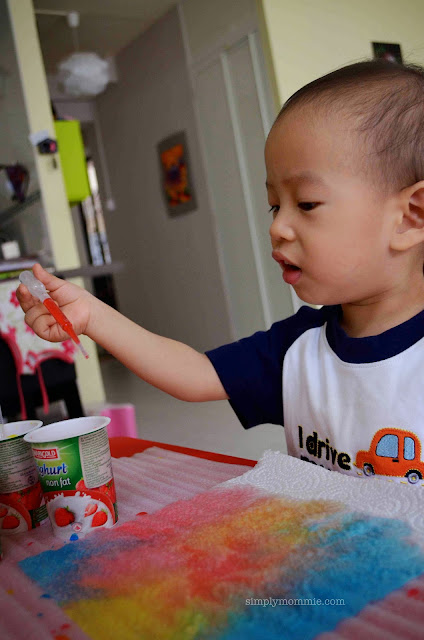
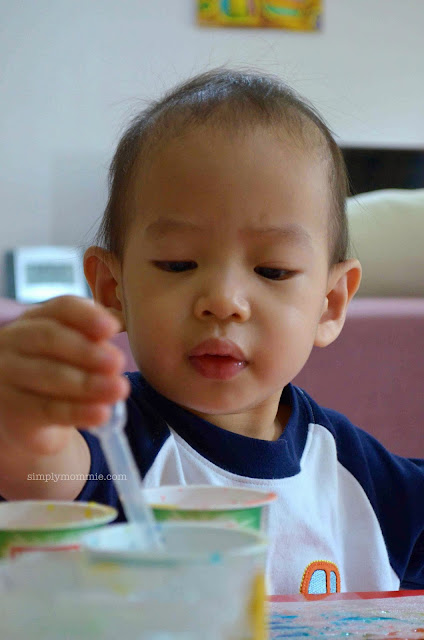 He loved looking at the coloured water in the pipette and was really pleased with himself each time he succeeded (which was almost every time, but he was just amazed by the new instrument for painting I guess).
 And this was how it looked before the colours started muddying up – pretty beautiful considering I only gave them blue, red and yellow. 🙂
 I was pretty surprised to find that the tissue paper kept the brilliant colours pretty well after drying! I haven’t yet found a use for these but I’m definitely hoarding them first. (I’m sure you’ve already noticed I’m a hoarder – who has soft foam packing sheets and sooo many tubs of empty yogurt containers!)


 Facebook
 Twitter
 Pinterest
 Instagram