

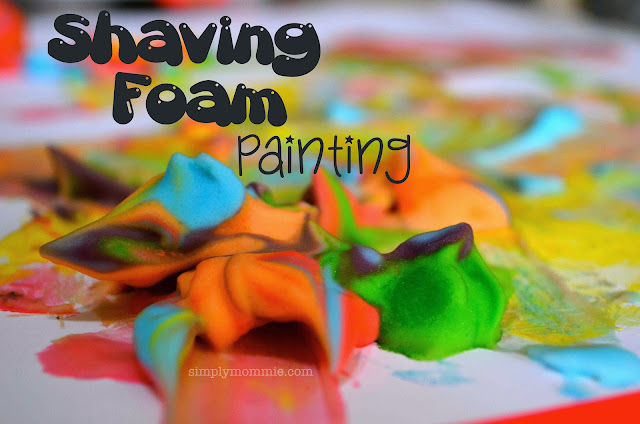
If you’ve always wanted to try out shaving foam painting but are hesitant because you’re not sure how to go about it or are afraid how it would turn out, I just have one thing to tell you – just do it! As usual, the photos will show you how worthwhile it is to try out this activity!
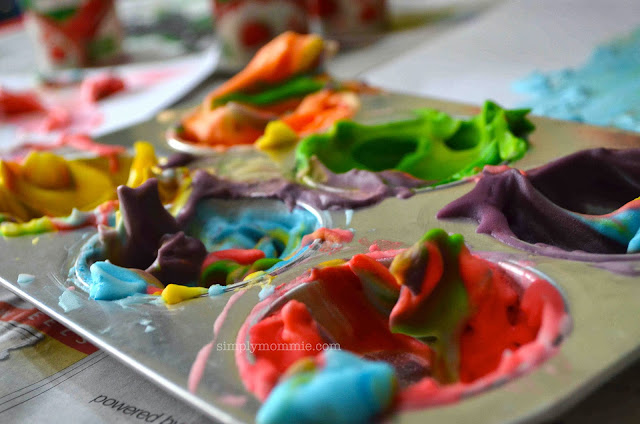
First we made the shaving foam paint by mixing shaving foam with just a couple of drops of food colouring. I made a total of 6 colours for each kid and I let my little girl mix her own batch.
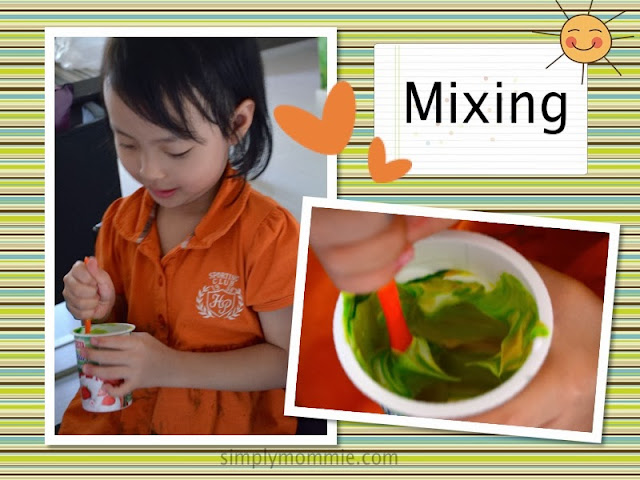
It was particularly fun and the colours were simply beautiful as they blended together to form another colour. Always makes for an amazing activity for kids (check out our previous colour mixing with pipettes post)!
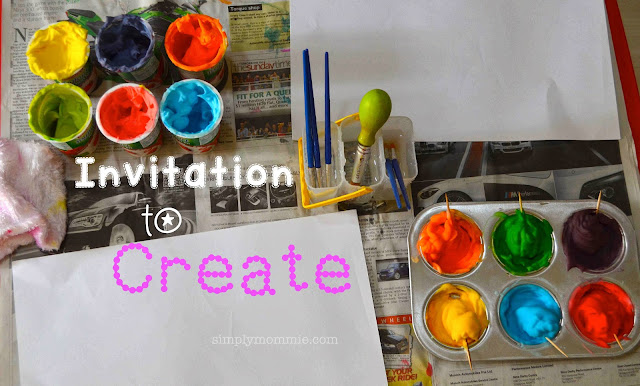
And after all the coloured shaving foam was ready, I set up the invitation to create –
Little boy started off a little wary but quickly warmed up –
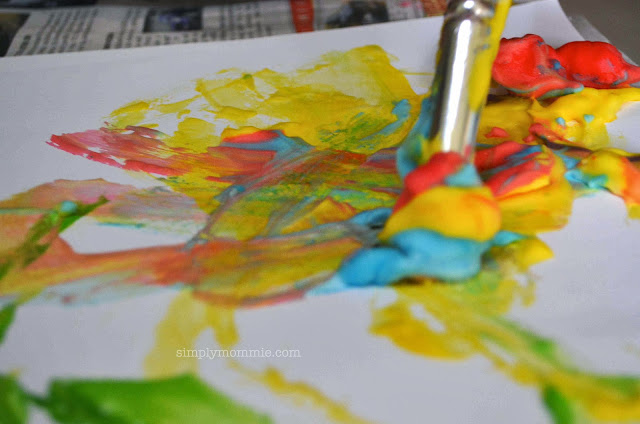
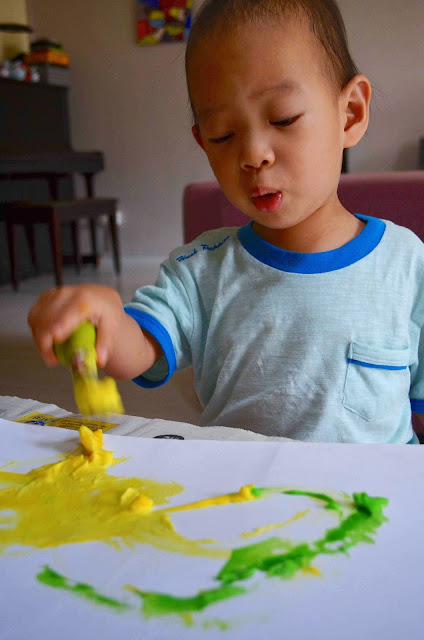 He didn’t bother about keeping the colours separate as he happily dipped his brush into multiple colours which actually turned out to be pretty nice! –
But as usual it was his many cute expressions during the whole session that summed up the whole activity into pure awesomeness.

showing me the foam on his brush
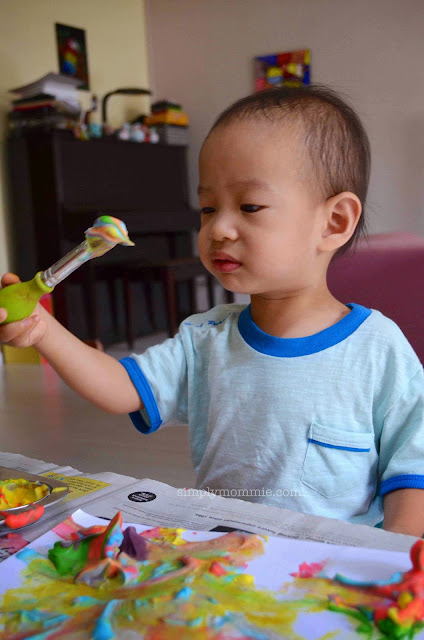
Checking out the coloured shaving foam

My favourite shot of him!! He went ‘Oh-oh!!! Oh no! Drop!’

Just simply amused by how the different coloured foam looked like, mixed up on his brush
And after he was done painting, this was how his tray of shaving foam looked like – a beautiful mess, no less!
My little girl on the other hand was very cautious about mixing up the colours and she spent some time trying out how the shaving foam paint would look and fare on paper –
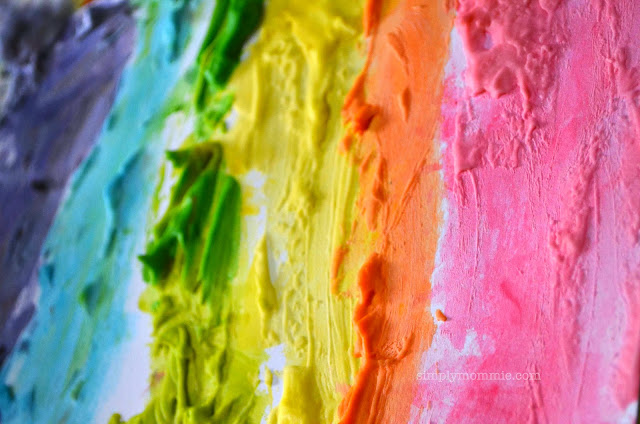
 And after that she decided she wanted a whole sheet of paper filled with rainbow colours –
After they were done painting, we brought the leftover shaving foam paint to the bathroom and they could paint on the walls… but apparently, they had other plans.

Squishing the foam and mixing them up with their hands proved to be their idea of how to use the foam up!
I’m sure you can tell we had a wonderful time. It doesn’t take much preparation or materials either… so you should totally try this! 🙂
Other shaving foam activities:
- Shaving foam with water beads
- Shaving foam art with pipettes
- Shaving foam marbling art
- Fun name writing activities (for the Chinese name)
View other art activities here.
~~~~~~~~~~~~
If you enjoyed this post, please share your thoughts in the comments or share the post with your friends by clicking on the social media buttons below. Do hop over to my Facebook page where I connect with my readers and I would love to have you following me on Pinterest, Twitter and Instagram too 🙂


 Facebook
 Twitter
 Pinterest
 Instagram