

You might have been aware that we changed our study tables recently.

Setting up one of the tables
It’s been 2.5 years since I blogged about our first set of ergonomic tables when my little girl was in preschool. Now that she’s in Primary 2, things have started to pile up at her desk! There’s just not enough table space for her to do her work properly. She’s either using the table just to place her things, or items just keep falling off her desk while she’s doing her work.
It was definitely time to get a new study table! Something which could provide ample table space for both her comfort and her eyesight. And since we were getting her a new set, we got another for little boy. We already knew that the day would come that he, too, would need more table space so we ‘upgraded’ both tables at the same time.
NOTE: We made a video too to show you how the table is like and how we use/ adjust it. It’s our FIRST video review – be sure to check it out at the end of the post! If you want to have a quick overview, scroll down to the video.
The Ergonomic Table
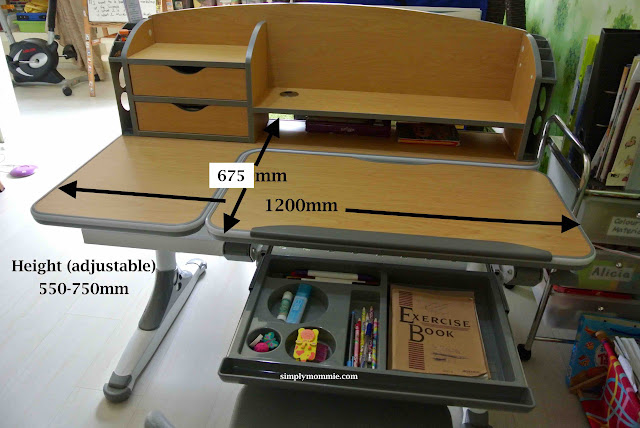
Front view
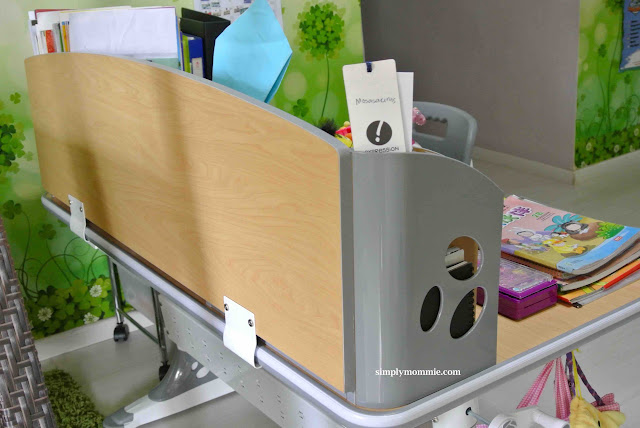
Back view
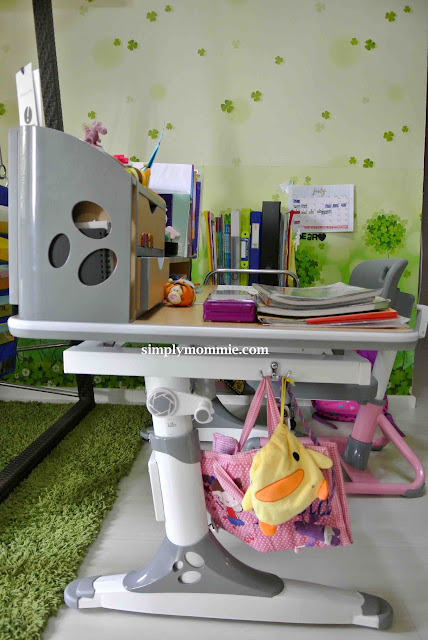
Side view
Because this table is much bigger than our first (it’s double the length), we could no longer place the tables side by side due to our furniture layout. It’s actually better to separate them anyway since they were frequently distracting each other when they were both at their previous tables.
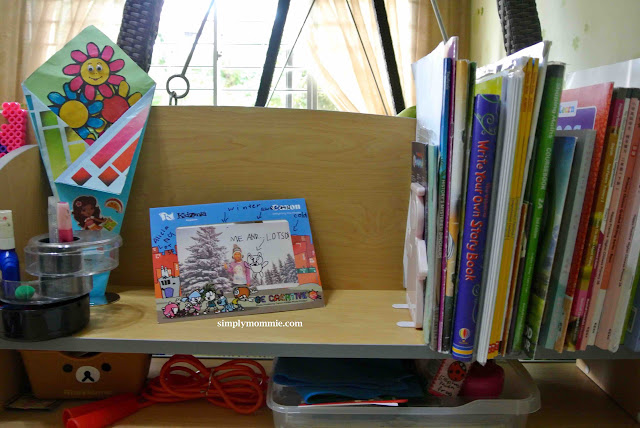
When I first saw this model on Qoo10 (link goes to the item on Qoo10), I knew that it was really quite ideal for what we need at this moment. It had a shelf to accommodate her workbooks and school books (so they needn’t be strewn on the floor or elsewhere in the house or clutter tabletop space):
A small display area:
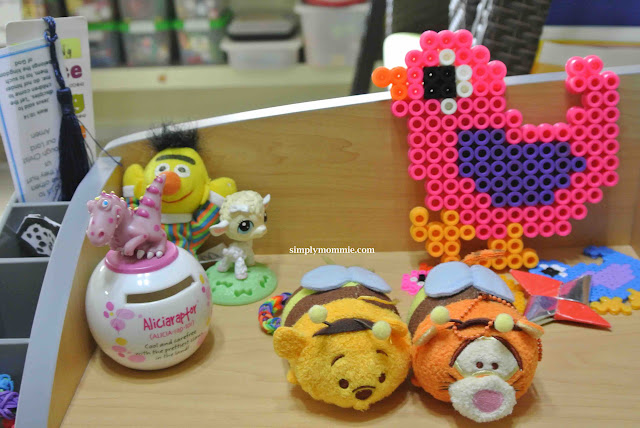
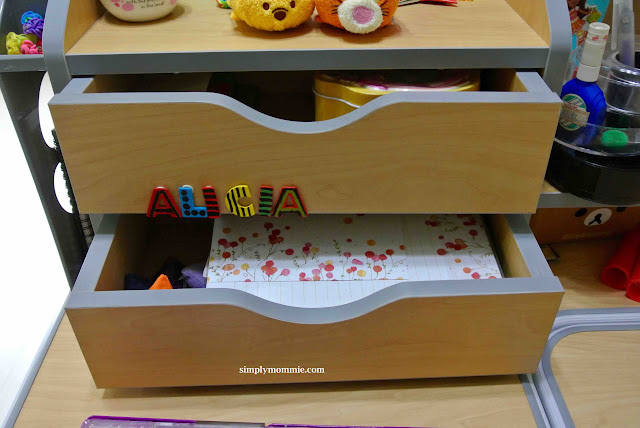
Two small drawers to store her little knick knacks:
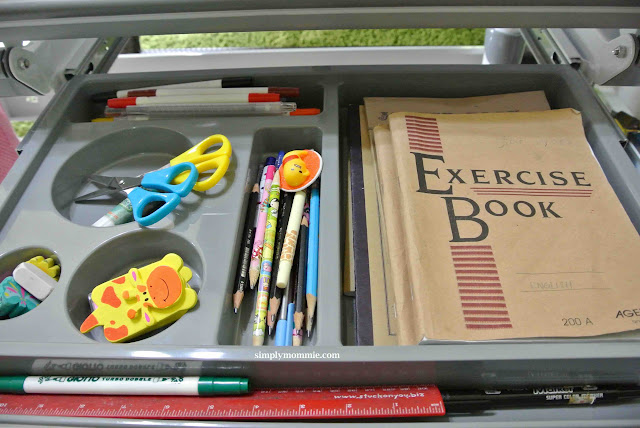
A well-planned stationery drawer:
What I love most about this table
Not the entire tabletop has to be inclined when she is doing her work. There is a practical and functional tabletop space which remains level – and that’s where she can place her other belongings which she needs within reach (e.g. cup of water, next piece of homework). The items won’t fall off because that part of the tabletop is not inclined.
More detailed specifications (picture from Qoo10):
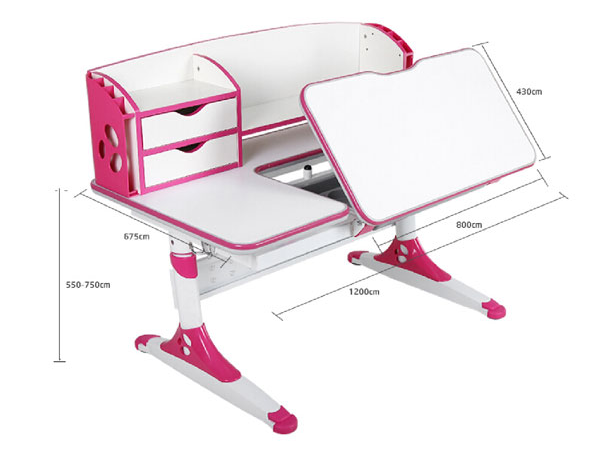
This model E120 is available in three colours – pink, blue and grey wood

Super satisfied with her new table!
Adjustments
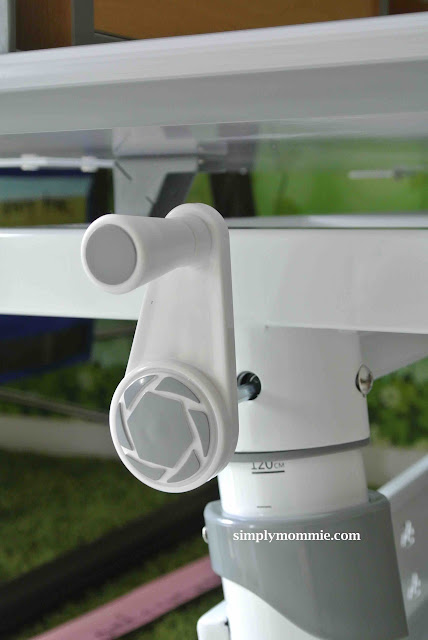
Another improvement from the previous set of tables is that there are no pre-determined angles. This table can be adjusted to any angle within its limit of 60 degrees. All you need to do is to hold on to the lever at the right bottom underside corner of the table and adjust the angle to your preference. (Our previous ergonomic table had only three pre-determined angles.)

Simply hold on to this lever during the adjustment
As for height adjustment, just wind the Allen key (which can be attached to either side of the table for your own convenience). The table will move up/down depending on the direction which you turn the Allen key. #easypeasy
It is so easy to use that even my kids can do the adjustment themselves!
Despite the easy adjustments that can be made, the table is extremely sturdy. It can take the weight of a 80kg person standing on it!
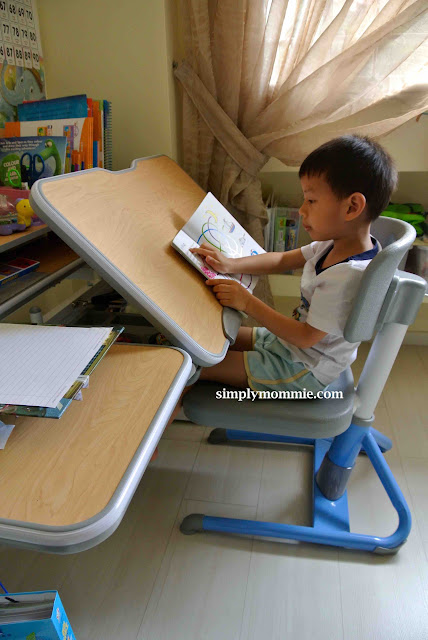
So you’ve been seeing most of my girl’s desk. Here’s my boy’s!
The other desk
Little boy reading at his desk:
This is how our little boy’s table is organised:

There’s finally a proper storage space for his belongings – especially his Pen Pal WHIZZ talking pen, and the accompanying Chinese readers and English readers!
Because his table is not directly under a light source unlike my girl’s, we got him a small table lamp from Ikea. We didn’t get him an expensive one since he hardly does work there at night. There’s a space for the wire of the table lamp to go through so the shelf remains neat and tidy without any unnecessary wires.
The ergonomic tabletop is made of MDF+ Melamine face+ PVC edge.
The Ergonomic Chair
As can be seen from the previous photo, there is also an Allen key for height adjustment of the chair. Pull out the coloured portion for a better grip, adjust the height, then push it back to avoid bumping into it.
More information about the chair:
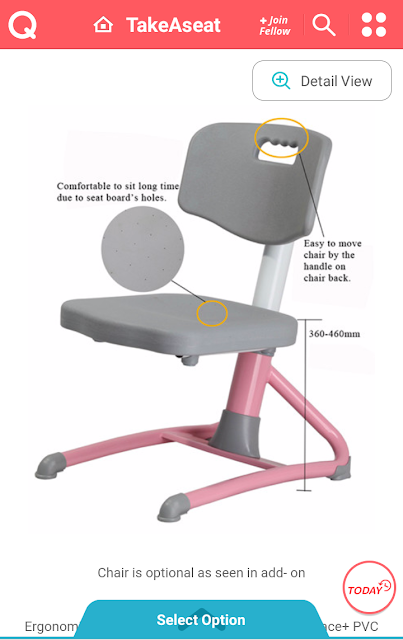
The chair is optional and is considered an add-on item. You can choose this original chair or top up an additional amount for the more premium ones. The original chair is not entirely hard, and I consider it to be very slightly padded at the seat area, so it is quite comfortable already.
The ergonomic chair seat and back are made of two layer blown PP. Frame is made of round steel tube.
We made a video to show you how the table is like and how we use/ adjust it – be sure to check it out!
Retail price: S$699 (includes chair); $609 (table only)
For more designs, options and other products, you can visit Take A Seat. You can also visit their showroom at No. 27 Mandai Estate (Tower 2) Innovation Place #06-07 Singapore 729931. Showroom opening hours 9am-6pm (closed from 1-2pm for lunch). Call 63622480 before heading down.
~~~~~~~~~~~~
Lovely and constructive comments are welcomed. Do hop over to my Facebook page where I connect with my readers and I would love to have you following me on Pinterest, Twitter and Instagram too 🙂


 Facebook
 Twitter
 Pinterest
 Instagram