Matching upper and lower case (with stickers)

Alicia chanced upon some stickers a few days back and insisted she wanted to stick them somewhere. Since she was intent on using the stickers, I decided that I should not just let the stickers go to waste… hence this on-the-spot activity! πŸ˜›
It’s a simple activity that anyone can do up and it requires little preparation so it’s great for parents strapped for time. πŸ™‚ I first came across a similar activity at Activity Mom so when Alicia asked to play with stickers, I immediately decided that it was time to try this activity out with her.
All you need:
  • a piece of paper – preferably not in the colour of any of the stickers you’re using (I used a scrap piece of construction paper πŸ™‚ )
  • markers
  • pen
  • liquid paper or silver pen (optional – for writing on dark coloured stickers (I didn’t have it on hand, if not I’d have used it))
  • labelling stickers

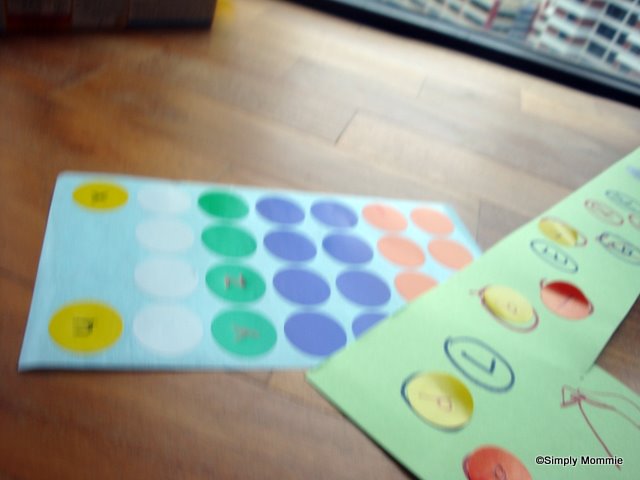
Simply write the upper/ lower case letters on the paper and draw a circle around each alphabet and write a set of alphabets (upper/lower case) on the stickers. Here I wrote the upper case on the paper and the lower case on the stickers but you can choose to do it the other way round. It really depends on what your focus is.
The extra marks on the paper are Alicia’s doodles – she wanted to draw on the paper when she saw me writing!

Get your tot to pick out any letter on the paper then look for the matching alphabet on the stickers. (That’s a lot simpler than looking for the alphabet on the paper since the letters are all mixed up!)

Β Stick it on!

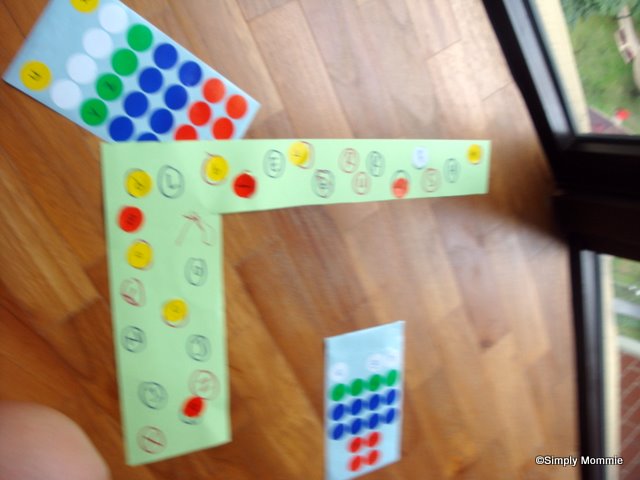
The next two photos were taken by Alicia! I thought they captured quite a nice angle of the materials we used for the activity though they were a bit blurry….

Well, it’s normal that your tot can’t sit through all 26 letters! The activity can always be revisited and completed over a few days! πŸ™‚
Posted in Homeschooling, Teaching English | Leave a comment

Homemade fish fingers

After Alicia showed signs of getting sick of her usual baked cod, I decided to add something new to her menu – something which my hubby has been stopping me from adding since a long time ago: breaded cod. πŸ˜› He’s always saying that it’s too heaty etc. and since she was very young back then, I also thought it wise to keep fried food to a minimum. Now that she’s reached the 30months mark this month, I felt that it was time. πŸ™‚

I didn’t photograph the homemade fish fingers, but here’s Alicia eating it on one occasion (scroll down for recipe):

Getting ready to eat! AHHHHH!!

Β 

Picking the crumbs to eat first…

Posing with her fish finger πŸ™‚
Β 
Β 
Homemade fish fingerΒ 
Homemade fish finger(s)
Author: 
 
Ingredients
  • 1 slice of cod (about 60g)
  • 1 egg, beaten
  • breadcrumbs (probably about 2 tbsp - I didn't measure)
  • a teeny weeny pinch of salt
  • a little ground white pepper
  • cornflour
  • oil
Instructions
  1. Mix the breadcrumbs with the salt and pepper evenly.
  2. Place the slice of cod into the beaten egg, then coat it with cornflour.
  3. Return the cod into the egg then coat it with breadcrumbs.
  4. Add some oil into a non-stick pan and shallow fry the fish finger till golden brown before turning over to brown the other side.
  5. Place the fish on a sheet of kitchen towel to remove any excess oil.
  6. Let it cool before serving to prevent burns.
  7. (You can fry an omelette for yourself/ your tot with the remaining egg.)
Notes
You can repeat the breading process for more fish fingers before frying them.


1 beaten egg can be used to coat 8-10 fish fingers.

~~~~~~~~~~~~

If you like this post, please hop over to my Facebook page where I connect with my readers and I would love to have you following me on Pinterest, Twitter and Instagram too πŸ™‚

Posted in Food for kids, Proteins for the tot, Recipes, Western Food | Tagged | Leave a comment