Welcome to Simply Mommie!
You can reach me at simplymommie@gmail.com
Hi! I'm Angie and I'm thrilled to have you here! More than just a place where I share my parenting thoughts, recipes and home-learning activities, my blog has enabled me to embark on a remarkable journey of self-discovery and of the world I thought I knew. Read more about meΒ and happy browsing!Accolades


Subscribe via email
Series
Recent Comments
-
Recent Posts
Nuffnang
Archives
Meta
Homemade fingerpaint fun (Part I)
I’ve been wanting to make fingerpaint for Alicia for the longest time and finally got down to it last Wednesday!
Here’s the link to the recipe for making the paint (I used the recipe for the cornstarch fingerpaint).
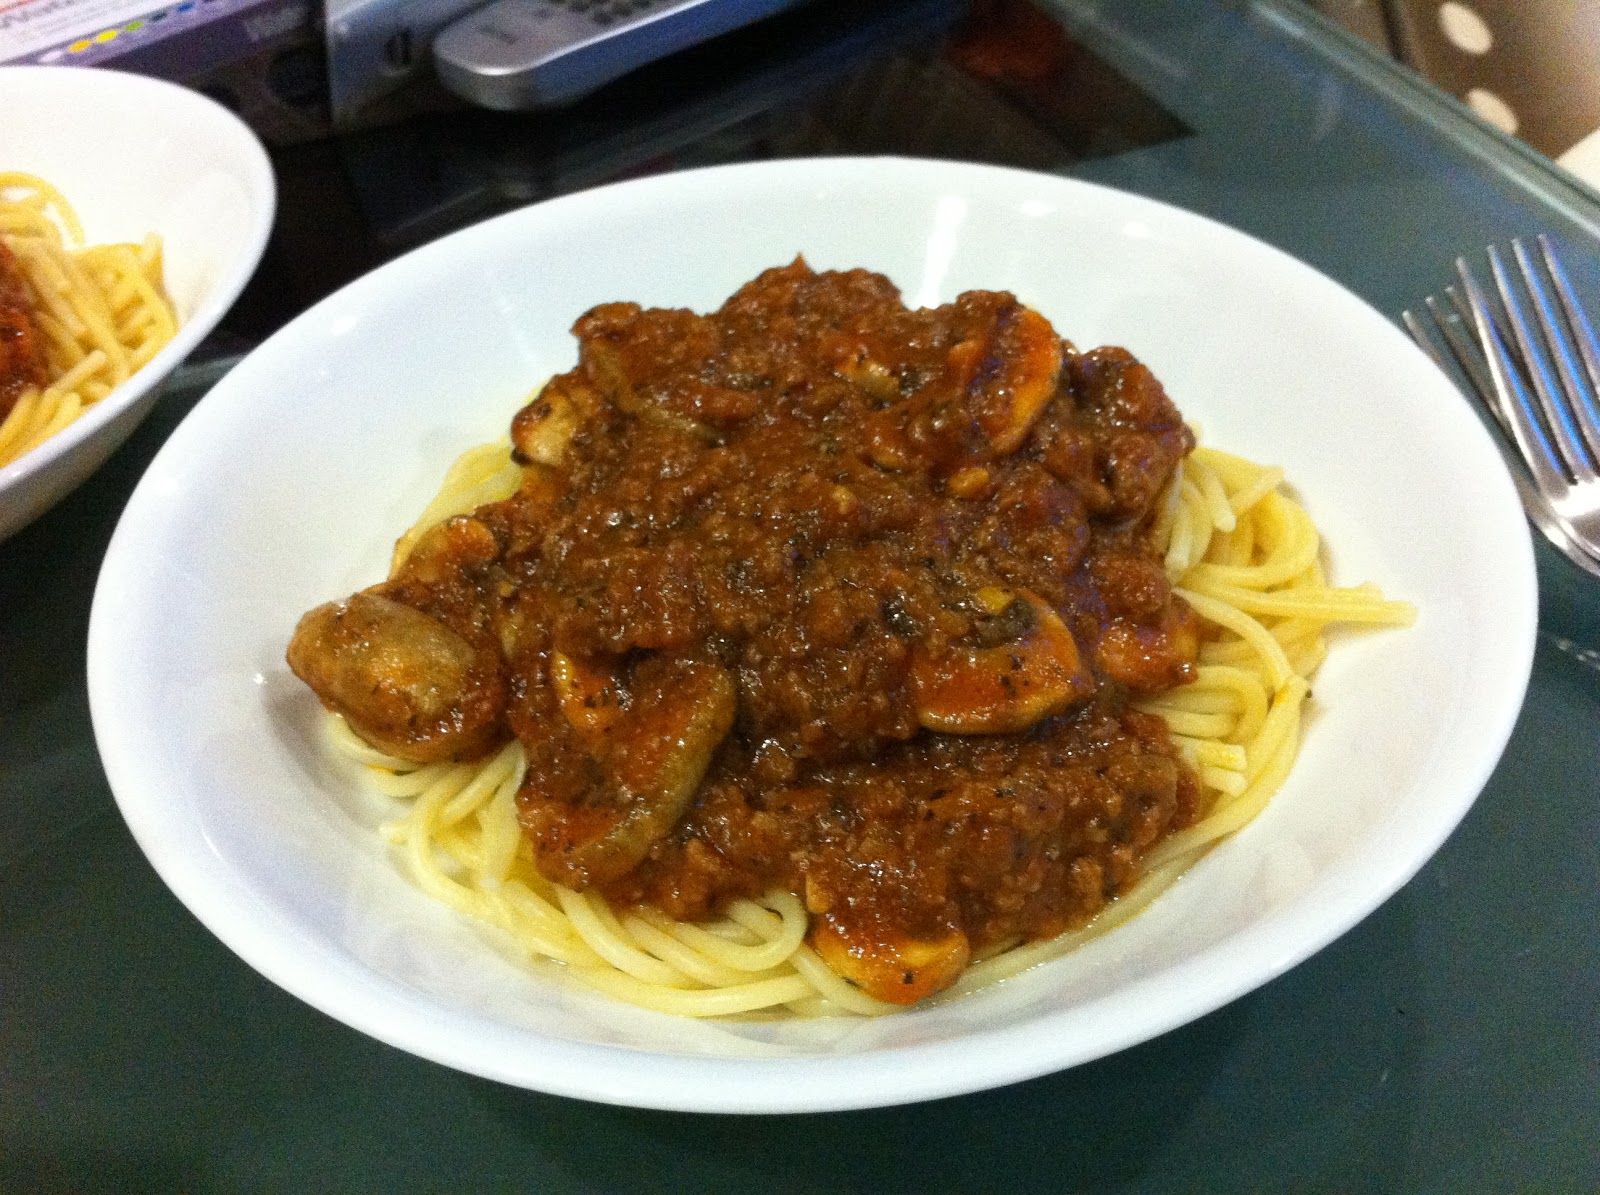
It just so happened that I was preparing Shanghai green for dinner that day and Alicia came running to the kitchen at that point when I chopped off the base of the veggie. She asked me what I was doing and I told her I was preparing vegetables for dinner and handed her one of the ‘beautiful roses’ (don’t you think it looks like a rose?). It was then that it struck me that this was a perfect day to finally make the fingerpaint!
And so I got to work and made about 3 porcelain soup spoons of 6 colours (total 18 porcelain soup spoons worth of fingerpaint):
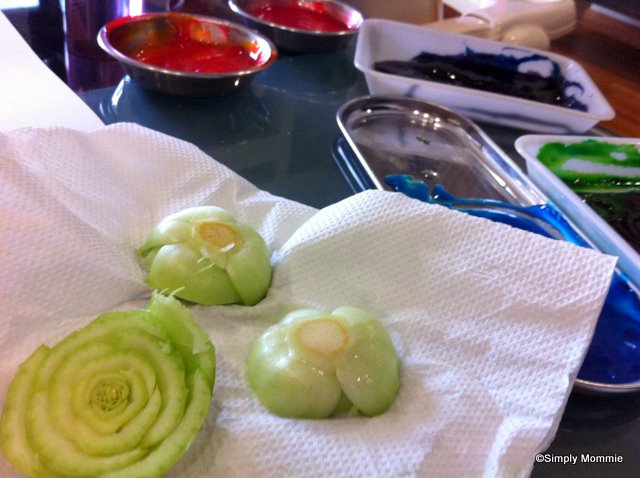
Β Set up as above
And the painting begins!
Happy girl smiling for the cam
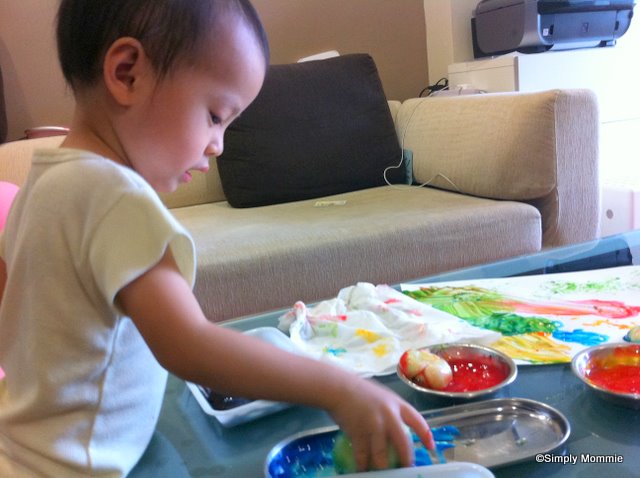
Engrossed…
Posing again, upon mummy’s request
And after she got tired of the veggie, she started to use her hand…. one hand at first…
Check out my hand!
cute?
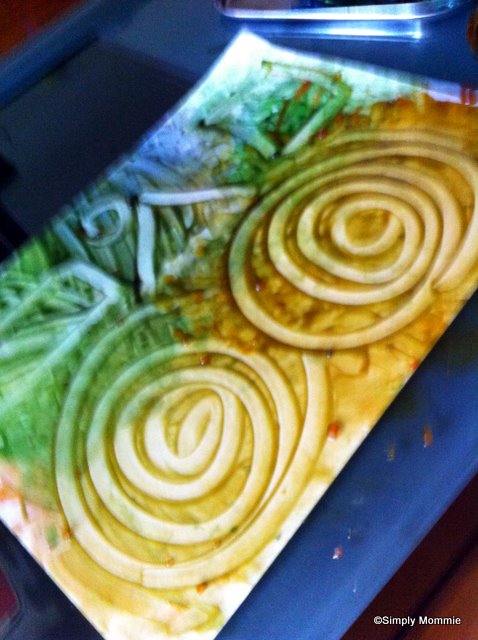
ok, I wrote her name…
And when she got really comfortable with the paint, she started using BOTH hands….
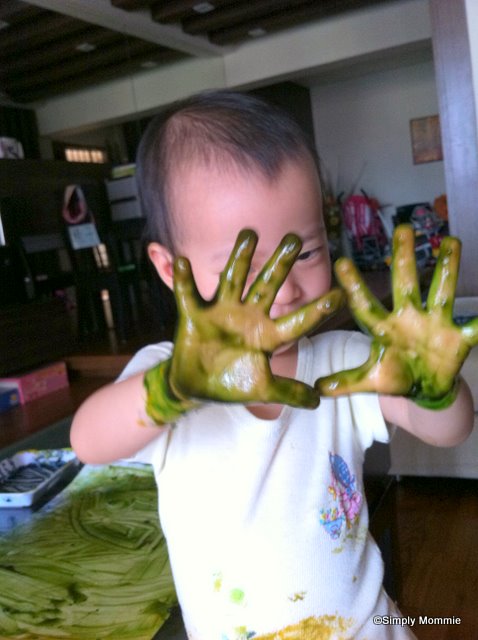
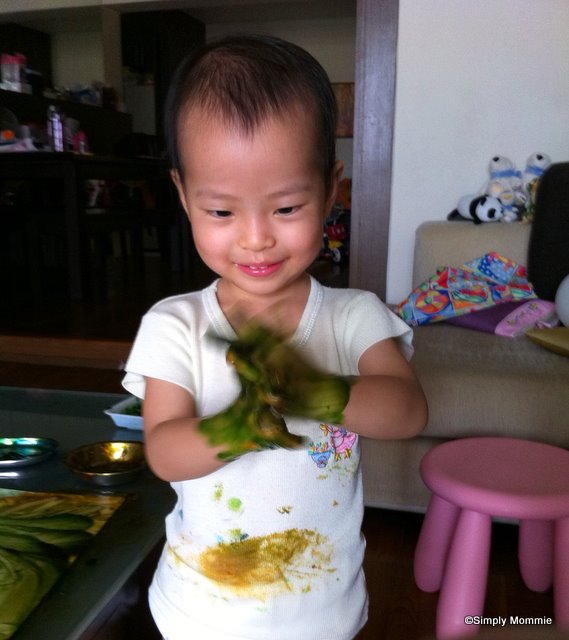
Look at the glee in her expression…
Slathering the paint on herself as if it’s lotion…
Totally enjoying herself…
You can see that she had much fun with the fingerpaints – I guess it’s the texture of the paint which is different from say, poster colour. The cornstarch really does make it feel oh so squishy and almost like a lotion – no wonder she started applying the paint on herself! LOL.
Have fun, and don’t be too bothered by the mess – it really is very simple to clean up – took me less than 5 min to wipe the table after giving her a good bath. π
Posted in Art, Homeschooling
Leave a comment
Homemade pasta sauce with pumpkin puree
Saw this pasta sauce recipe over at The Little Teochew some time back and I knew I just had to give it a try and I must say that both hubby and Alicia loved the sauce!
It’s a really sneaky way of adding pumpkin into Alicia’s diet coz she doesn’t like pumpkin… but she doesn’t know that in that delicious sauce, pumpkin is a key ingredient! hee…. *evil laughter* Then again, I don’t like pumpkin much either… I like pumpkin soup though!
I modified the recipe as the recipe does not contain any meat so since I wanted to make it a one-dish meal for the family, I added in the usual minced beef and mushrooms… and I made a much bigger batch of sauce to freeze the remainder in small portions for Alicia. π
Homemade pasta sauce with pumpkin puree
Homemade pasta sauce with pumpkin
Author: Simply Mommie
Ingredients
- 500-600g pumpkin (skinned and cut into chunks)
- a bottle of passata (you can view the photo of the actual product over at The Little Teochew's post)
- 1 small yellow/ white onion, minced
- 2 cloves garlic minced
- 250g minced beef
- 10 white button mushrooms, sliced
- salt to taste
- basil flakes to taste - I added a generous portion
Instructions
- Steam the pumpkin till fork tender, press the pumpkin through a sieve (truly reminds me of the days I pureed food for Alicia!). Set aside.
- Heat wok and add some oil.
- Fry the onion and garlic till fragrant and the onions have softened.
- Add the minced beef and some water if necessary to make sure that the minced beef does not become lumpy.
- Add the mushrooms. Saute for awhile.
- After the beef is browned, remove all the ingredients from the wok.
- Add passata and the pureed pumpkin to the wok. Let it simmer for about a minute.
- Return the ingredients that you fried earlier back into the wok and mix well.
- Let the sauce simmer for about 10-20min (to ensure that the mushrooms are cooked and have released their sweetness into the sauce) and meanwhile you can add the salt and basil to taste. π
- Pour sauce over cooked pasta or put the cooked pasta into the wok and mix well before dishing onto the plate. (I chose to pour the sauce over the pasta as I wanted to save the remaining sauce to freeze in baby cubes for Alicia)
- Top with grated cheese of your choice (optional).
Notes
Passata can be easily obtained from NTUC or Giant.
You can substitute beef with chicken.
Omit the basil if you do not like it or you can add other herbs of your choice. I have a bottle of basil in my kitchen so I just used it... π
You can substitute beef with chicken.
Omit the basil if you do not like it or you can add other herbs of your choice. I have a bottle of basil in my kitchen so I just used it... π
Β ~~~~~~~~~~~~
If you like this post, please hop over to my Facebook page where I connect with my readers and I would love to have you following me on Pinterest, Twitter and Instagram too π
Posted in Beef, Food for kids, Noodles/ Pasta, Proteins for the tot, Recipes
Tagged Sauce
Leave a comment


Facebook
Twitter
Pinterest
Instagram