The new year has arrived and what better way to usher it in than with products that will spruce up our nest and keep the kids safe? Here are my 3 recommendations to start the year!
#1 Eduplay 3-in-1 Playbox
Although I’m not a cleanliness freak, the sight of toys scattered everywhere in the house gets to me, especially at the end of the day. In the past, I used to just pack the toys at the end of the day onto the kids’ push trolleys and the shelves we made in the recess area under the windows. But with my newest find – Eduplay 3-in-1 Playbox – I not only can organise the play area in the hall better, it’s so kid-friendly and colourful (even comes with a ball and a basketball hoop!) that the kids were elated to even set it up together!
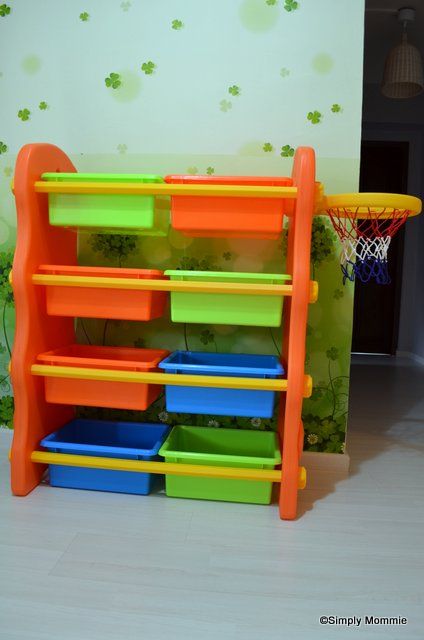
The height of the shelving unit is 42.5″ (at the highest point), width is 32.5″ (including the basketball hoop, it’s 46.5″) and the depth is about 18″.
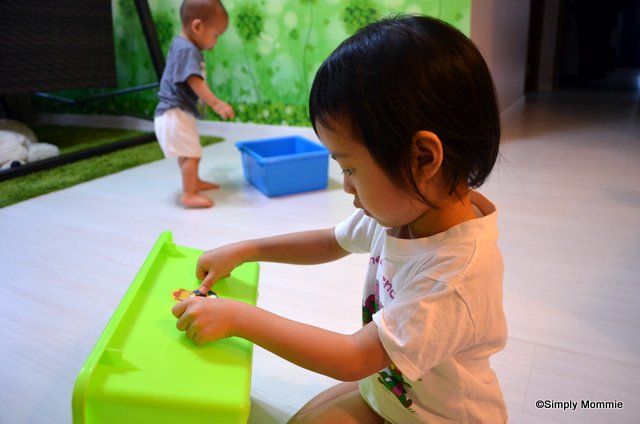
My little boy decided that he’d demonstrate how large each tray is by trying to get into it:
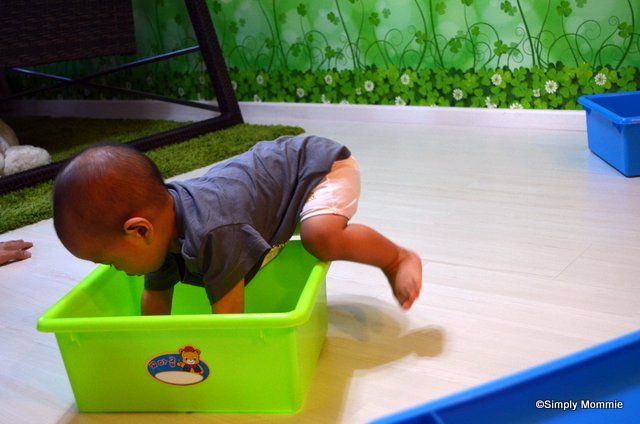
Ok, kidding. The interior of the tray measures W13″, D9.5, H5.5″.
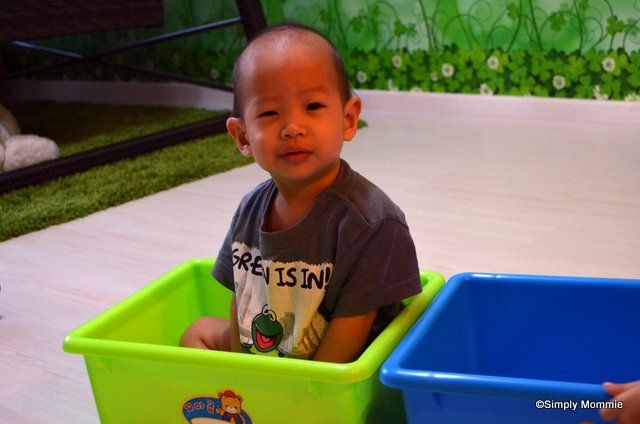
Ta-da! He fits so perfectly!
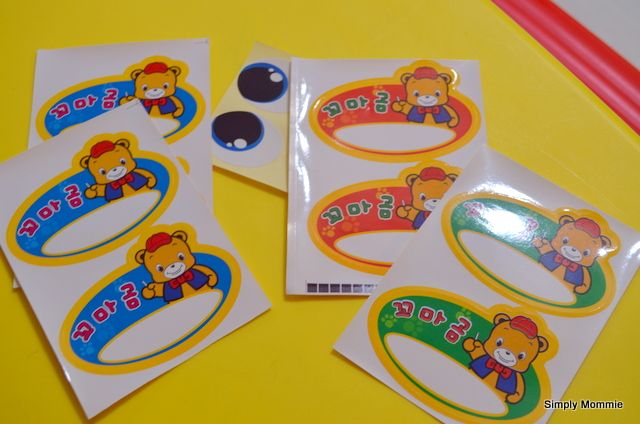
The shelving unit comes with labels for the individual boxes:
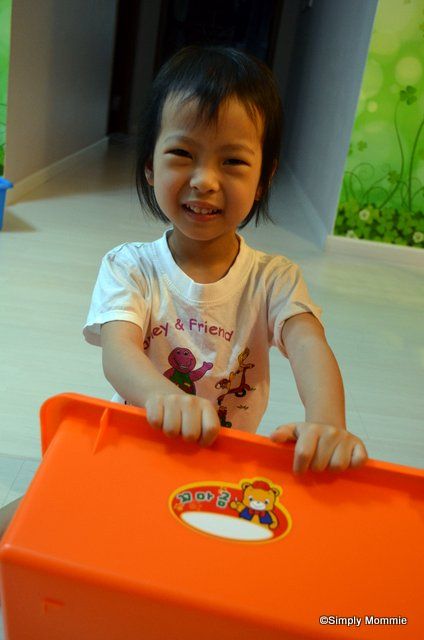
My little girl was ever ready to help with the sticking of the labels:
Team work in place! We never knew that setting up a shelving unit can be so much fun for kids – little boy bringing over a box for his sister!:
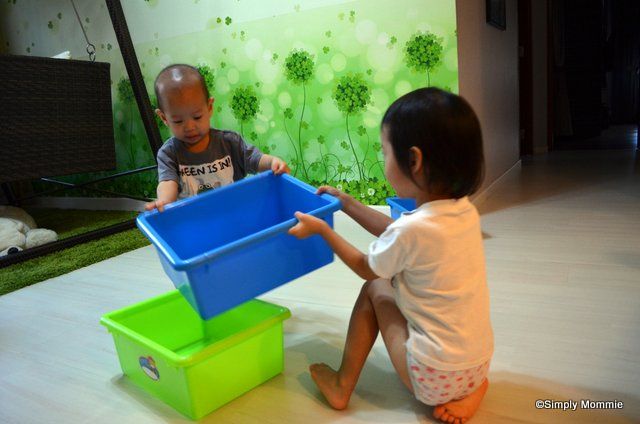
And that’s the last tray!:
These labels are useful if you want to categorise your items but I have left the labels empty as I have the habit of rotating toys for the kids.
Besides the basketball hoop feature on one of the sides of the shelving unit, both sides are adorned with a bear which comes with stickers for eyes and his feet.
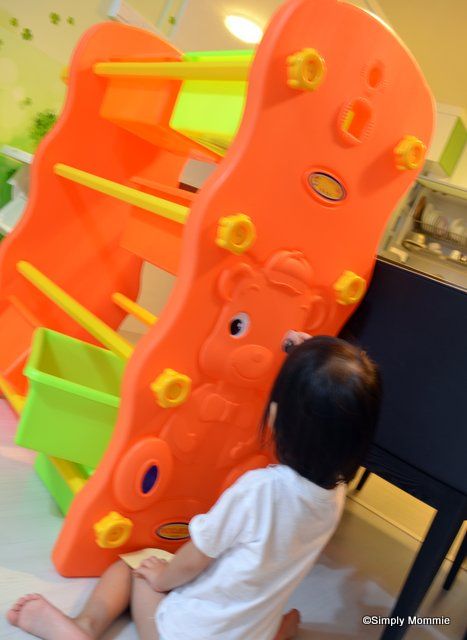
Did you notice that there is not a single sharp corner? All parts of the Eduplay 3-in-1 Playbox are rounded and with its vibrant colours and great appeal to kids, getting my little ones to help pack up after a play session is going to be a cinch!
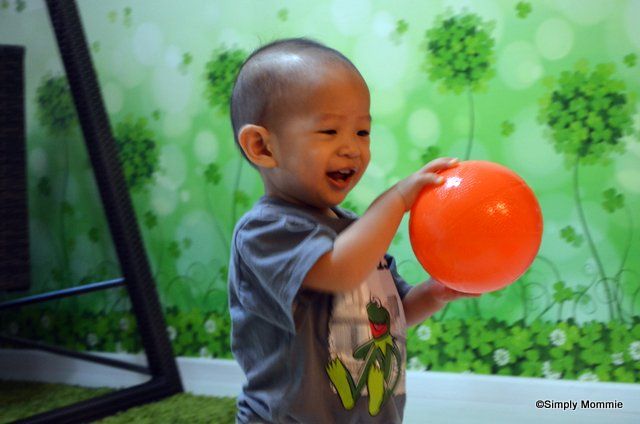
After his sister was done with helping with the set-up, little boy was all ready for some slam dunk action (with the ball which comes with the product)!:
As you can see, the Eduplay 3-in-1 Playbox offers play, neat storage options and encourages kids to be proactive in picking up after themselves after a session of play!
#2 Alzipmat Color Folder
Back in my old house, we filled more than half of the kids’ room with foam mats which had an alphabet on each piece of foam. It did look very nice with the colours and all but it was sheer torture when we needed to clean the foam pieces and the floor beneath! The foam pieces were difficult to vaccum and mop so after awhile, we just gave up on them even though the foam mat cushioned our little ones’ falls somewhat a few times. Needless to say, we didn’t bring it along when we moved.
Meanwhile, I never stopped to keep a lookout for a playmat for the kids which would be able to cushion falls well and yet not be a nightmare to keep clean. I was so glad to know that the Alzipmat Color Folder fit the bill perfectly.
The Alzipmat Color Folder is brightly coloured (other colour options available) and folds out to measure 63.5″x51″.
The Alzipmat is environmentally friendly with its toxic-free and highly elastic PE Foam as its interior material waterproof, does not smell of chemical materials and is naturally safe.
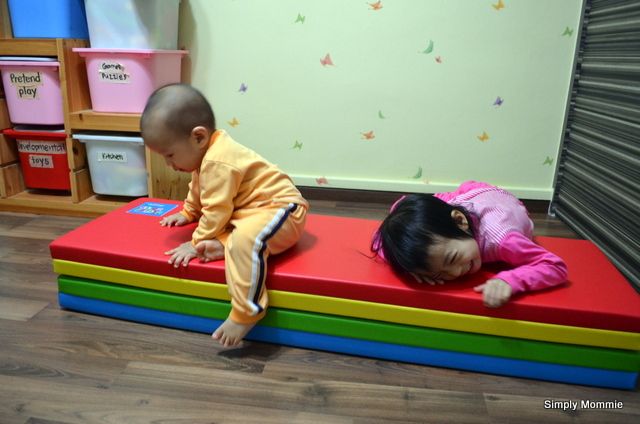
I got much more than what I wished for! I found a mat that isn’t just a mat that cushions falls and is easy to clean but is so versatile that it can also serve as a couch:

and it’s so portable within the house that I can move it easily when I want so their ‘sofa’ can be brought anywhere in the house:
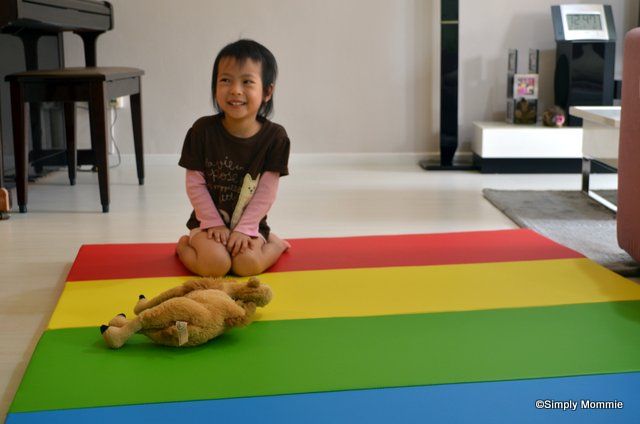
It’s so firm yet comfortable that my daughter has started to sleep on it.
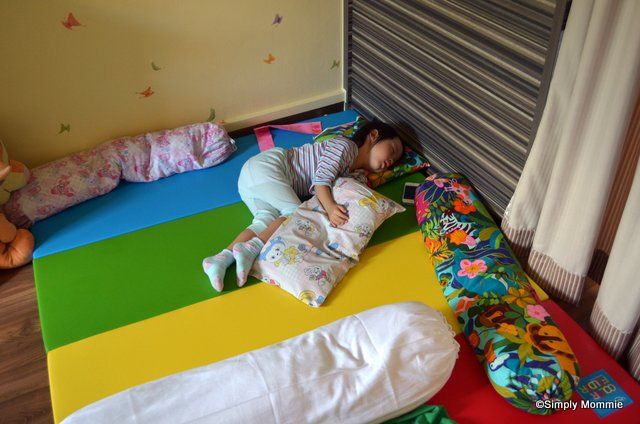
After little boy wakes up in the morning, he’d bring his little bolster along to join his sister and he’ll pretend to sleep next to her:

I had intended to place the mat next to her bed to cushion her fall should she accidentally roll off her bed in her sleep but she has decided to shift to the mat to sleep instead!
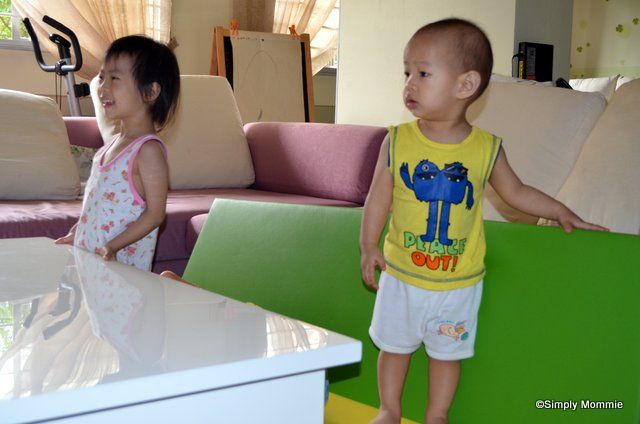
The mat can also be transformed into a play tunnel:
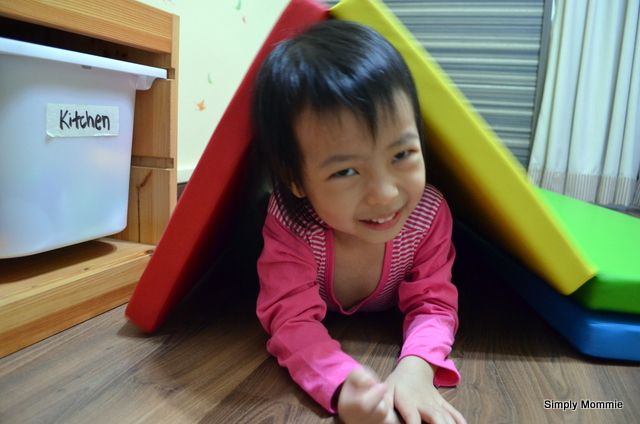
playing peekaboo and catching:

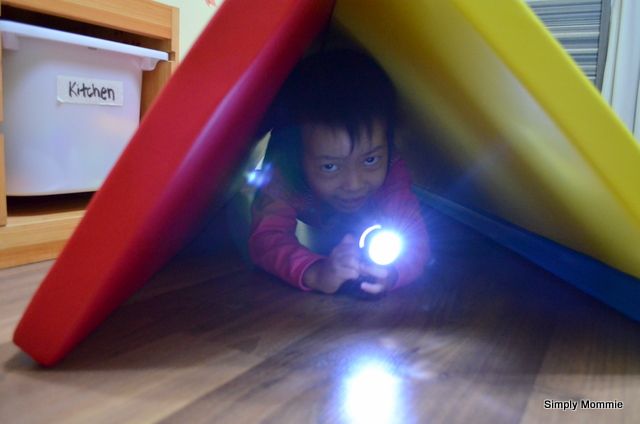
and where better to explore with a torch than in a tunnel?
The best part of it all is that it can be folded up when it’s not in use and we’d just push it against a wall.
As for maintenance of the mat, you simply need to take a moist cloth to wipe it and it’s clean! No worries about dusty playmats or spillage of food or drink – my boy has vomited once on it so I know that very well. 🙂 And when you need to mop the floor, simply fold up the mat and bring it off the floor!
If you’re looking for a versatile playmat which is great for cushioning falls from your kids’ beds or you have babies who are starting to crawl and are worried about accidents, I highly recommend this Alzipmat Color Folder!
#3 – Munchkin Quick Install 26″ Gate
When we did up our new house, we removed the old door between the kitchen and the service balcony but since I requested for an open concept kitchen, the contractor said that it’d look nicer if we kept that doorway empty. It all went very well until my little boy started getting more active and mobile each day and now he ventures into the toilet in the service balcony which we sometimes soak some dirty clothes. There is no way we can lock the toilet door as it’s one of those sliding ones which only locks from within and we weren’t keen on getting a gate which would spoil our spanking new walls so we were glad when we chanced upon the Munchkin Quick Install 26″ Gate.

This gate is made of wood and plastic and installs in seconds, no tools required! Unlike most similar gates that use a wood locking arm, the Quick-Install Gate’s arm is made of plastic, which allows for 50% more precise adjustments and a safer fit. Simply adjust the gate to your doorway’s width (up to 42″) and the quick release lever mechanism remembers the width for easy removal and replacement so it’s easy to secure the gate back into place within seconds after the lock has been disengaged.
It is designed for children 6-24 months.

The gate comes with a one handed locking mechanism and as you can see below, we actually placed the gate upside down this time but it still can be used so there’s no need to fumble to check every time you need to place the gate back in the doorway. 🙂
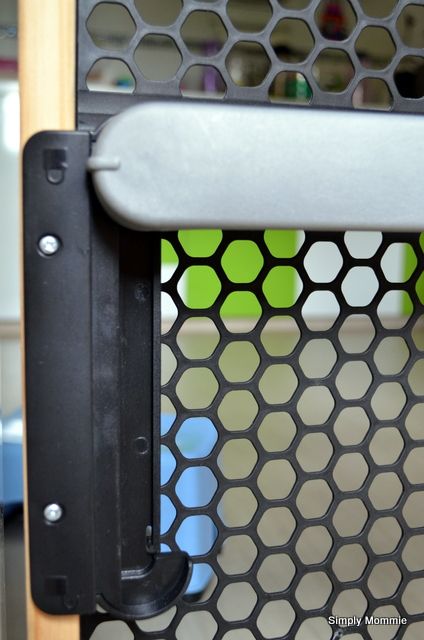
simply shift the locking arm to unlock
When we do not need to have the gate in place, we simply unlock it and place it by the wall.

Personally, the best part about this gate for us is that when Alex grows out of it, we can simply give the gate away and not worry about how there will be holes in the walls due to mounting brackets and such and whether or not the person receiving the gate will have a doorway of a specific width since this gate is so adjustable! 🙂
Wondering where to get these wonderful products and how much they cost?
Eduplay 3-in-1 Playbox: SGD239
Alzipmat Color Folder: SGD229
Munchkin Quick Install 26″ Gate: SGD69
These fabulous products retail at Takashimaya, Kiddy Palace, Tom and Stefanie and other major departmental stores.
Disclosure: This is an advertorial and items were received for review purposes. All opinions are 100% mine.


 Facebook
 Twitter
 Pinterest
 Instagram