

We were thrilled to have a chance to lay hands on the mBot – an educational robot kit by Makeblock. It’s an educational robot that claims to allow kids to learn programming skills, as part of the bigger intention of Science, Technology, Engineering and Mathematics (STEM) education at early childhood.
Unboxing and Assembly
The kit comes in a robust packing with quality parts. The body of mBot is made of metallic parts mainly and the wheels are also sturdy, so there’s little worry that mBot will get damaged when it collides with things at home.

Makeblock mBot courtesy of Toytag
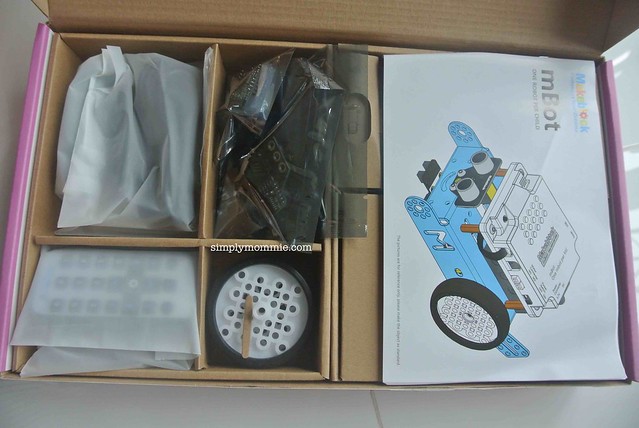
Unwrapping the mBot box
Without hesitation, our kids dived straight into assembling the mBot. The package comes complete with the following (4 x “AA” sized batteries not included):
- Parts (mechanical, electrical and electronic)
- Assembly Instructions
- Wiring Instructions
- Connecting wires and screwdriver
Our two kids eagerly poured out all the contents and quickly got down to the assembly by referring to the instructions.
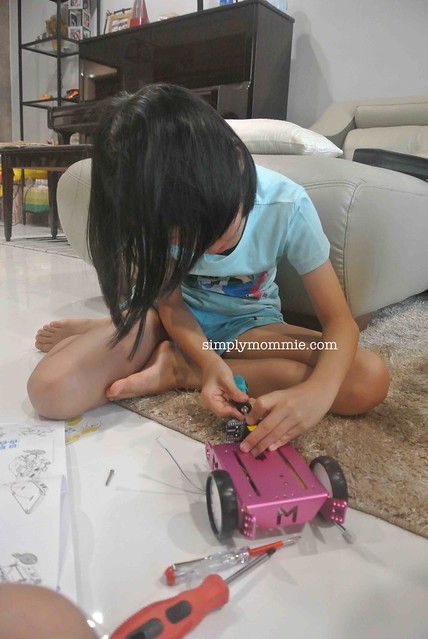
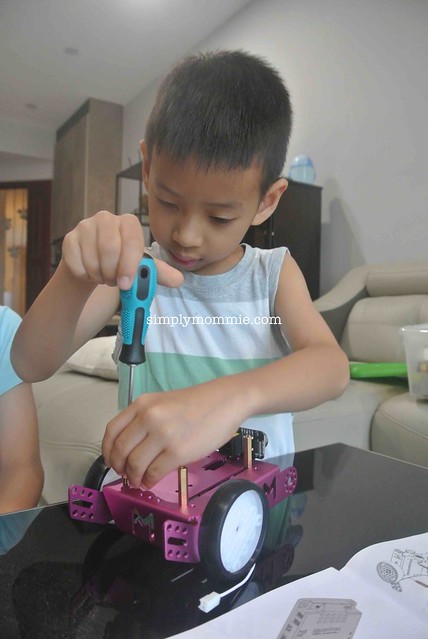
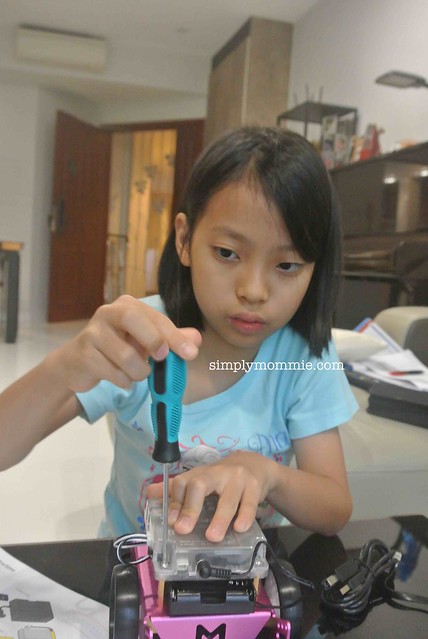
The instructions were sequenced in an organised manner, starting with assembly of the mechanical parts (assembly instructions), followed by connecting relevant parts using cables (wiring instructions). Our primary four girl was able to successfully assemble the mBot without asking for my help, so I guess the instructions were clear and child-friendly enough. The finished product delighted her very much with flashing lights, some movement and sounds once it’s successfully assembled and powered on!
The Interactive Experience
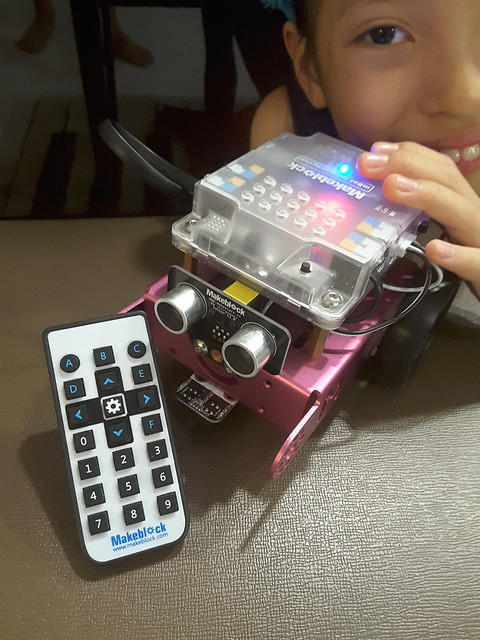
Once assembled, she couldn’t wait further but to start playing with the toy. For the first few days, our kids mainly played with the mBot with the remote controller that came in the box.
Beginning With Using the Remote Controller
As we didn’t have much time to teach the kids how to use the remote controller and what each button does, we literally left them to “play” with their new toy on their own. We saw them entertaining themselves by making the mBot move, make sounds (or music of some sorts), light up in different colours, and perform as a mechanical robot to push their other toys around.
After a few days, I asked my girl what she had been doing with mBot and she told me that:
- the arrow keys make the mBot move forward, backward, turn left and right
- the number keys make musical notes (1 for “do”, 2 for “re”, …..)
- the “A” button makes the mBot stop whatever it’s doing
- the “B” button makes it move forward
- the “C” button makes it move backward
- and lastly, the most interesting thing they learnt was that the number keys double up as speed buttons when they are pressed before a movement command.
“That’s quite impressive for some independent, self-discovery activity”, I thought to myself. So she was even able to relate the numbers to the concept of speed!
Exploring More Functions With the Makeblock App
After they got less interested with the limited functions of the remote controller, our kids came asking us what else they could do with the mBot. Oh yes, we remembered that the mBot can also be connected to a tablet/pc wirelessly through bluetooth and there could be more interaction with the mBot using the Makeblock app. We quickly whipped out our Android tablet and started downloading the android app and got the mBot connected to the tablet through the Makeblock app. Wireless connection is simple enough by simply bringing the tablet close to mBot to connect, and we’re all set for more interesting activities and fun!
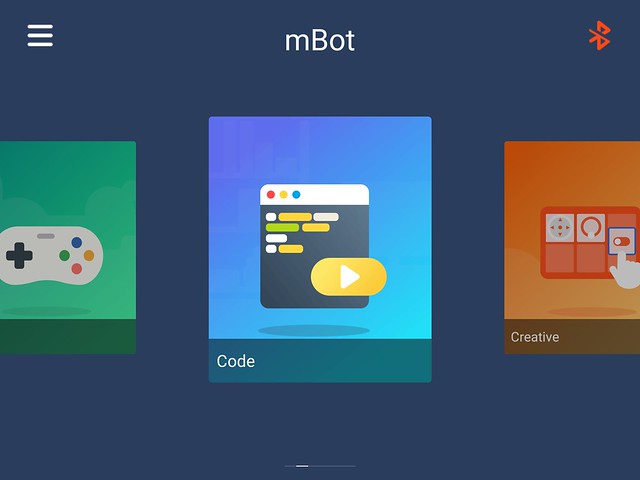
The App comes with 6 main functions:
- Play
- Code
- Creative
- Build
- Create
- Expand
A) The Play Function
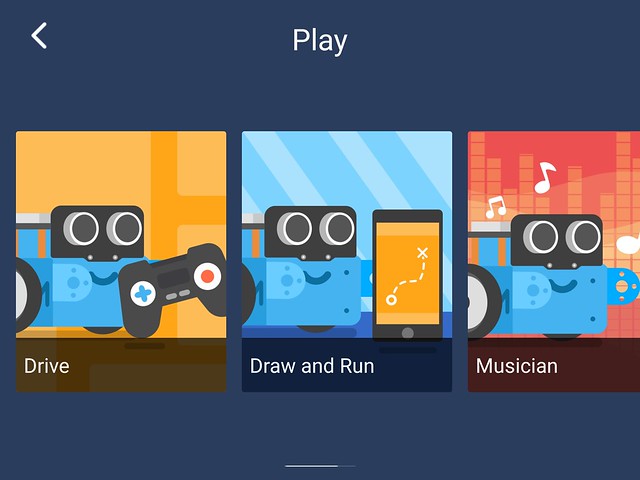
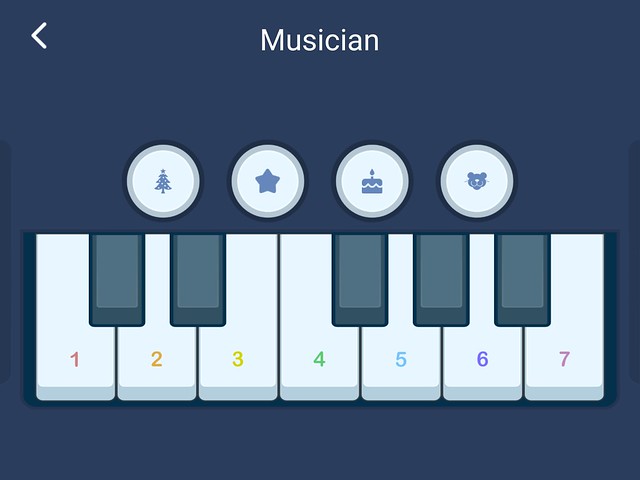
The Play function includes categories such as Drive, Drive and Run, Musician, and Voice Control. These are very interactive and are fairly intuitive for kids. Our kids enjoyed the Draw and Run function (where they draw a path of their choice on the tablet and mBot would move on the ground according to that path) and the Musician function (where they could play simple, pre-programmed tunes or put their piano skills to action).

B) The Code Function
The Code function is where learning of coding lies. The App brings the kids through well-planned, hands-on and activity-based tutorials to learn the following coding concepts:
- Sequence – understanding order of coding commands
- Speed – controlling the speed of movement
- Loop – learning loop commands such as “repeat”
- Stop – making mBot stop all current commands
- Wait – inserting wait times or delay times in between commands
- Branch
- Condition
- Compare
- Lightness
- Numbers
In each of these sections, the app teaches the child the coding concept through clear instructions, visual cues, and progressive learning through stages with increasing level of difficulty. In each stage, a task is given to the child, and the child will then work on the task by dragging the relevant command blocks in sequence. Once done, the child will click on the “play” button to execute the commands and mBot starts moving in accordance to the sequence of commands. If the task is successfully completed, the App rewards the child with delightful music and making mBot dance a little.
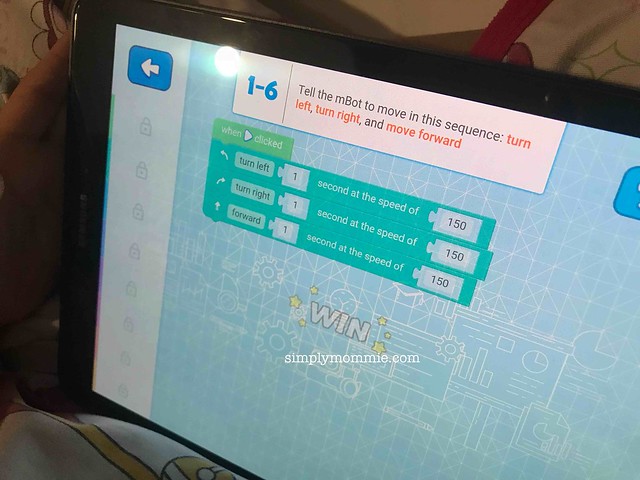
The app uses a drag-and-drop coding interface where commands are inserted in a convenient and easy-to-understand manner. Modifications could then be made to the command blocks by clicking on the properties of the command blocks (e.g. choosing between the type of movement, and the speed of movement for a movement block).
The App also motivates the child by keeping the subsequent sections locked until the current section is completed. This means that the child needs to complete stage 1 of each section (the Sequence section, for example) before proceeding to stage 2, and she also needs to complete all 9 stages of the Sequence section before the next (Speed) section. This game-like strategy does work on our kids who are quite used to such game formats in smartphone games (haha!). The app also helps the child revise previously-learnt concepts by mixing current tasks with previously-learnt tasks.
More advanced functions are subtly introduced along the way. Some of these functions include:
- commands to make mBot make a musical note of a certain tune (C5 for example), and for a certain time duration (a quarter beat for example)
- commands to make mBot emit both lights of a certain colour for a certain period of time
- commands to make mBot emit different coloured lights on each side
- commands that makes use of mBot’s motion sensor, sound sensor and light sensor

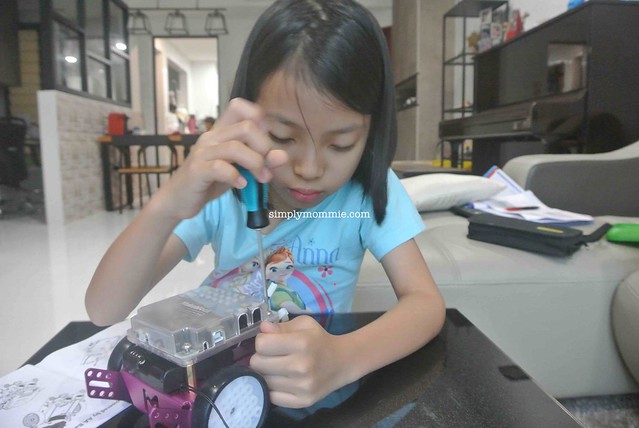
Look at her! She’s definitely having fun interacting with the intelligent new friend she’s got and learning programming concepts at the same time. Her eyes lit up when she completed one of the stages in Code that makes the mBot move and sound like an ambulance!
Our Opinion on the Product
We liked the mBot mainly because:
- it is intuitive and easy to assembly, and to learn to operate
- it’s cute and appealing design, though still largely keeping to the “robotic” look. Our girl would keep mBot beside her bed as if it’s her pet.
- of its interactiveness through the numerous functions of being able to emit light of different colours, sounds of different tones, and to detect motion, light and sound.
- of the inclusion of a customised programs for kids to interact with mBot and learn coding. The coding section is particularly wholesome and comprehensive with its suite of learning stages.
- of its limitless applications that a child can explore through the Creative, Build and Create functions.
- of its expandability of the kit – the app has an Expand function with more interesting applications, and the app can also connect to other Makeblock products.
A small area for improvement could be:
- to be able to choose chunks of command blocks that have been already inserted and duplicate them (instead of having to insert new command blocks from menu)
Conclusion:
If you’re looking for an interactive toy for your child to learn coding concepts in a fun and intuitive way over a sufficiently long period of time, this could be a good option. After about three months, our kids still love the toy and it’s encouraging to know that they still have yet to totally explore all its features.
Time to play mBot again, kiddos? Let’s go!
If you’re interested in such educational toys, Toytag has a huge array of robotic toys that you can check out! We took a long time before deciding on mBot! 😀
Disclosure: We received one mBot for the mBot review. No monetary compensation was received. All opinions are our own.


 Facebook
 Twitter
 Pinterest
 Instagram
This looks so much sophisticated than the other robotic kits available in the market. I really like the fact that the body is made up of metal and not plastic, unlike most of such toys. It gives it a more raw looks and will definitely be more sturdy. Thank you for sharing!
No problem! 😉